Your Custom Text Here
Instant Large Format Photography
What seems a very long time ago, I spotted a curious little thing that Lomo were offering that would fit on the back of our Intrepid Large Format Camera: a Polaroid style back for instant film!
I thought it might be fun to be able to get instant results from photoshoots, so joined the kickstarter and waited.
Then the pandemic hit, so I waited some more!
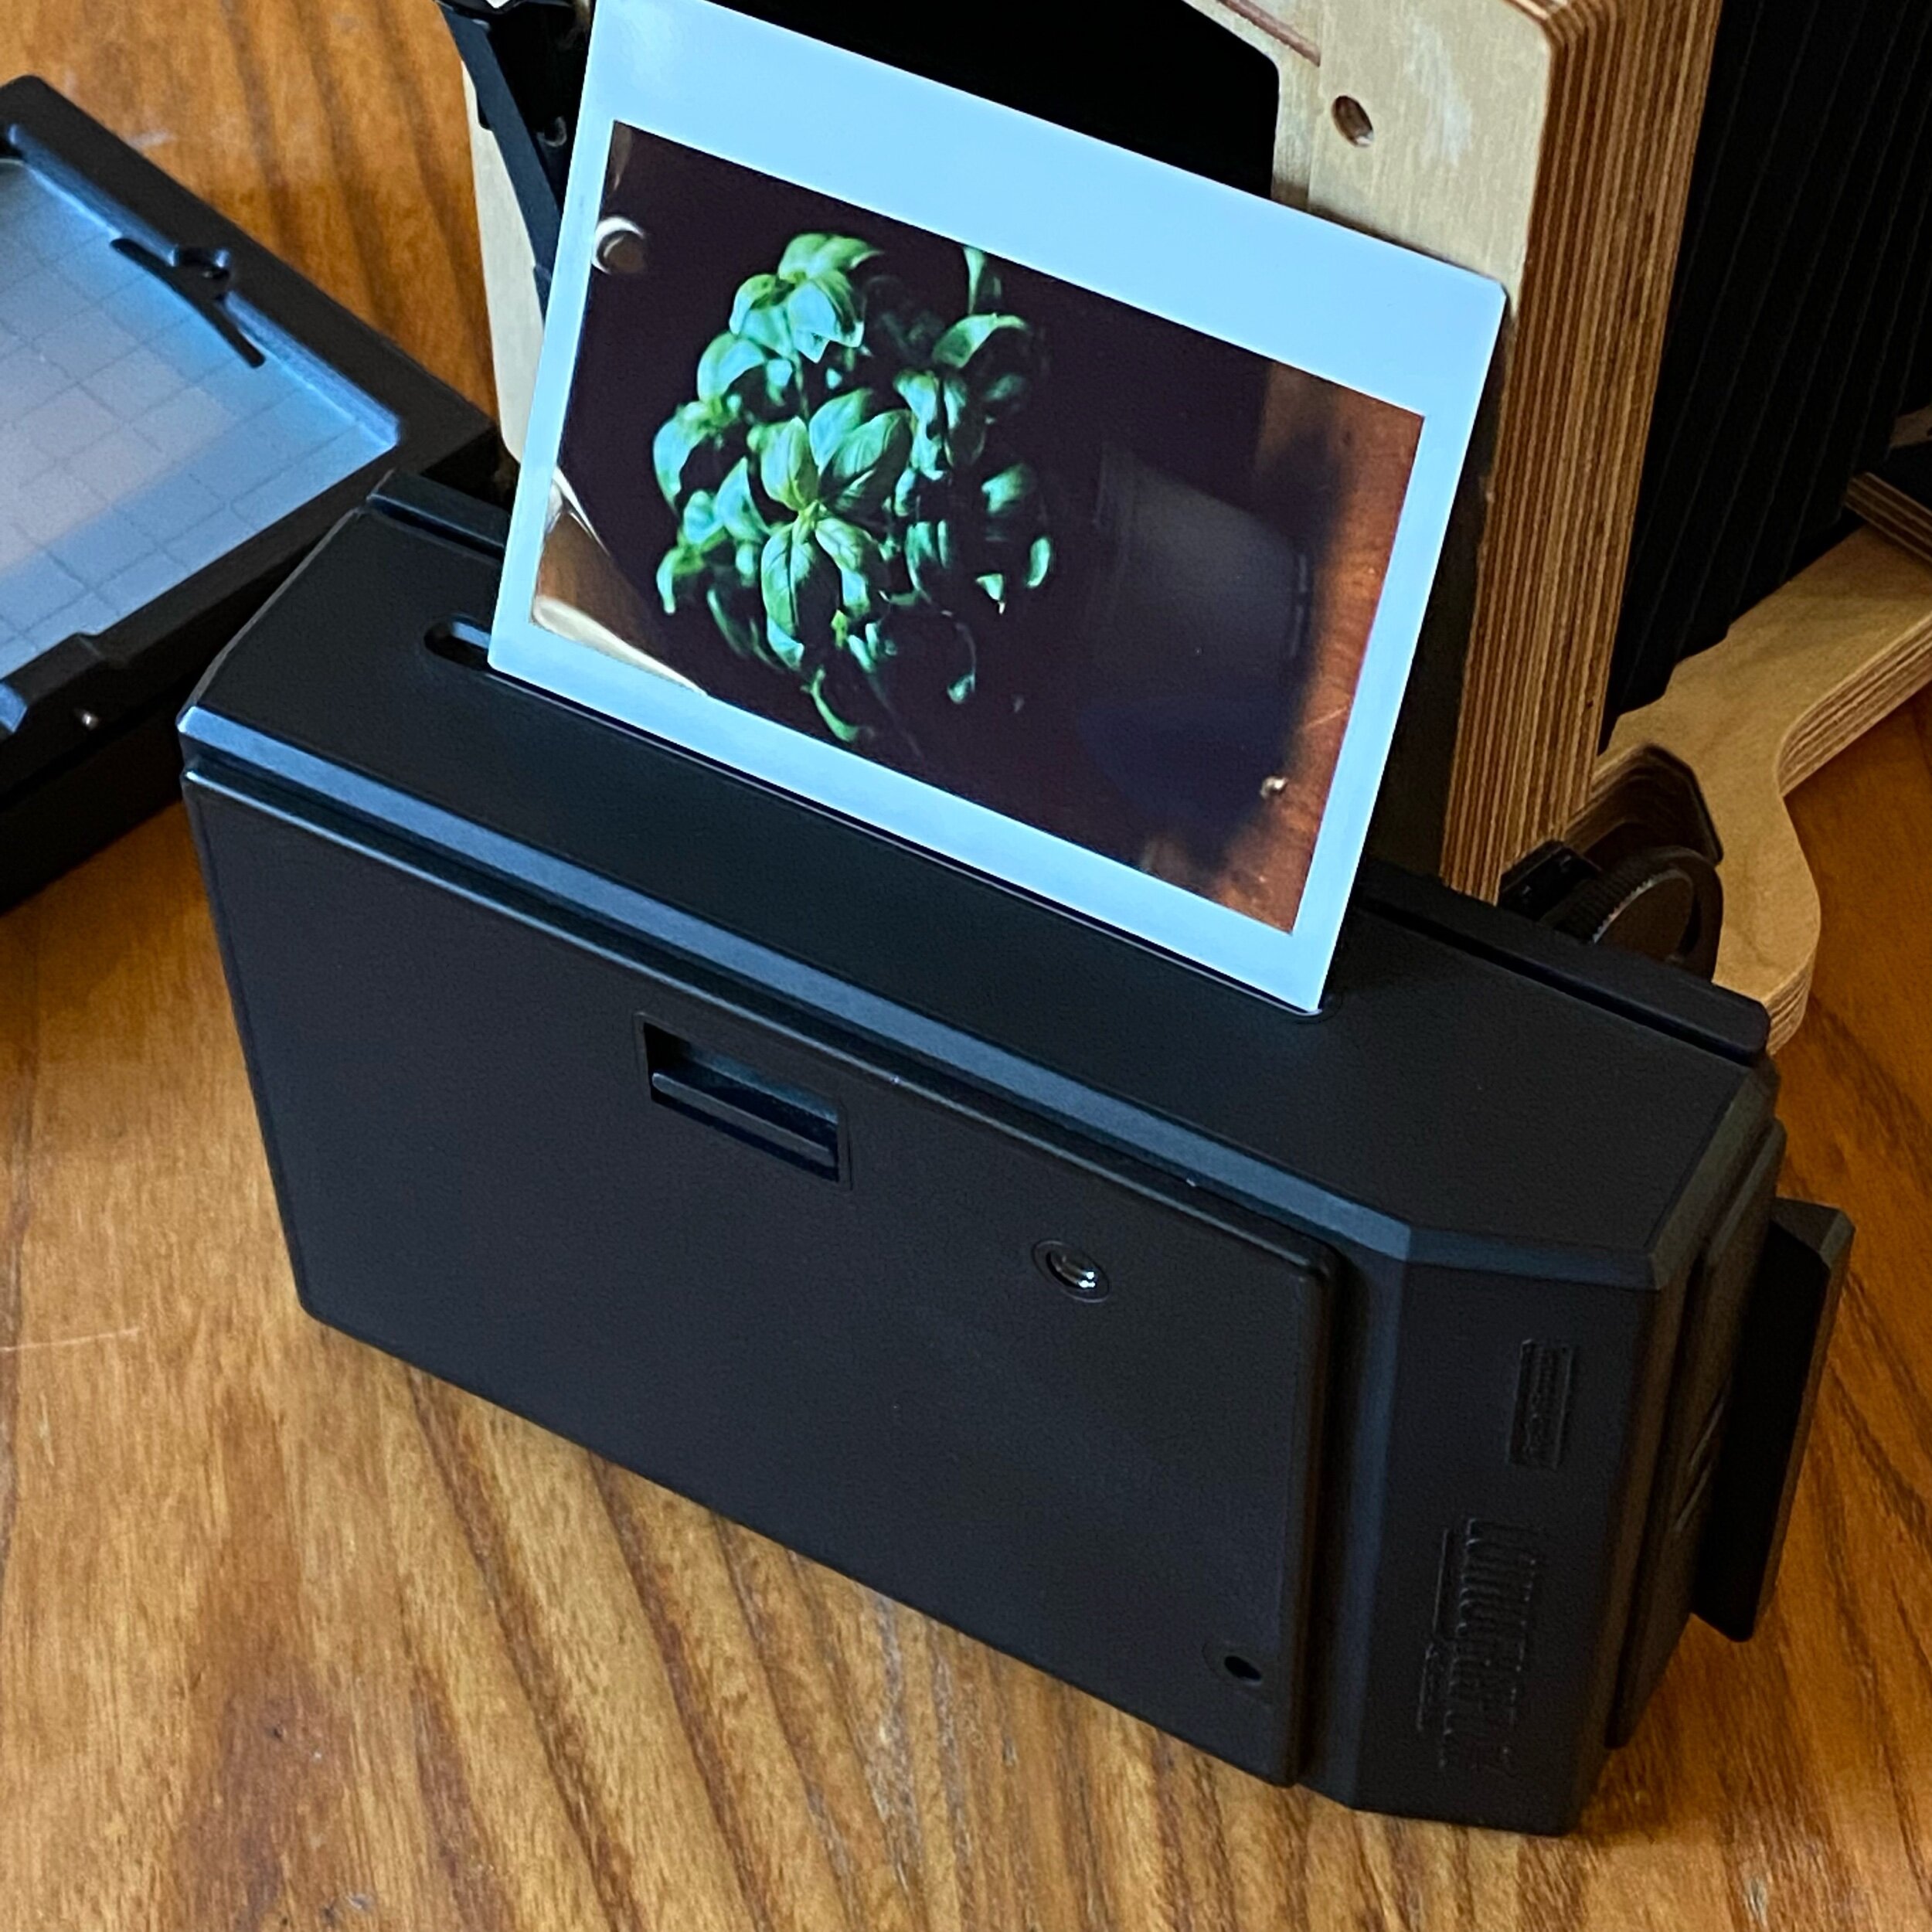
Finally, just recently we received a package containing a nondescript black plastic box, shown here attached to the camera:
The process of taking a photo is even more of a faff than the film process we’ve documented previously on this blog! Once you have the camera set up and focussed, you place the back on the camera and then take the photo.
You then have to remove the back (I think this is an Intrepid thing - if you leave it on the back, the clip you can see in the picture scratches the photo as it ejects) and press the button to eject the photo:
We tried this out on a recent maternity shoot and it’s great fun and helped get us all in to the right mood for the digital shots. It’s really lovely to all gather round and watch the picture appear as if by magic.
The pictures you get from this system can be very charming, but they are nowhere near the quality you can get from film in this camera or from our Fuji digital kit, but they are a unique instant memento and have a very different look to them. We’ll definitely be using it lots in the future.
Our kit
I’m a big fan of the Shotkit website as I’m a bit of a photo nerd and love to see what kit other people are using. Em and I were chatting about this, and thought it would be fun to set up a shot of our own wedding kit. This is a picture of most of the kit we take to weddings. We each have two Fuji X-H1s, but there’s probably a few more cameras floating around in our car because we really like to be prepared for any eventuality! My Ricoh GRII goes with me everywhere, so that’s definitely in a pocket somewhere!
Intrepid Camera family shoot
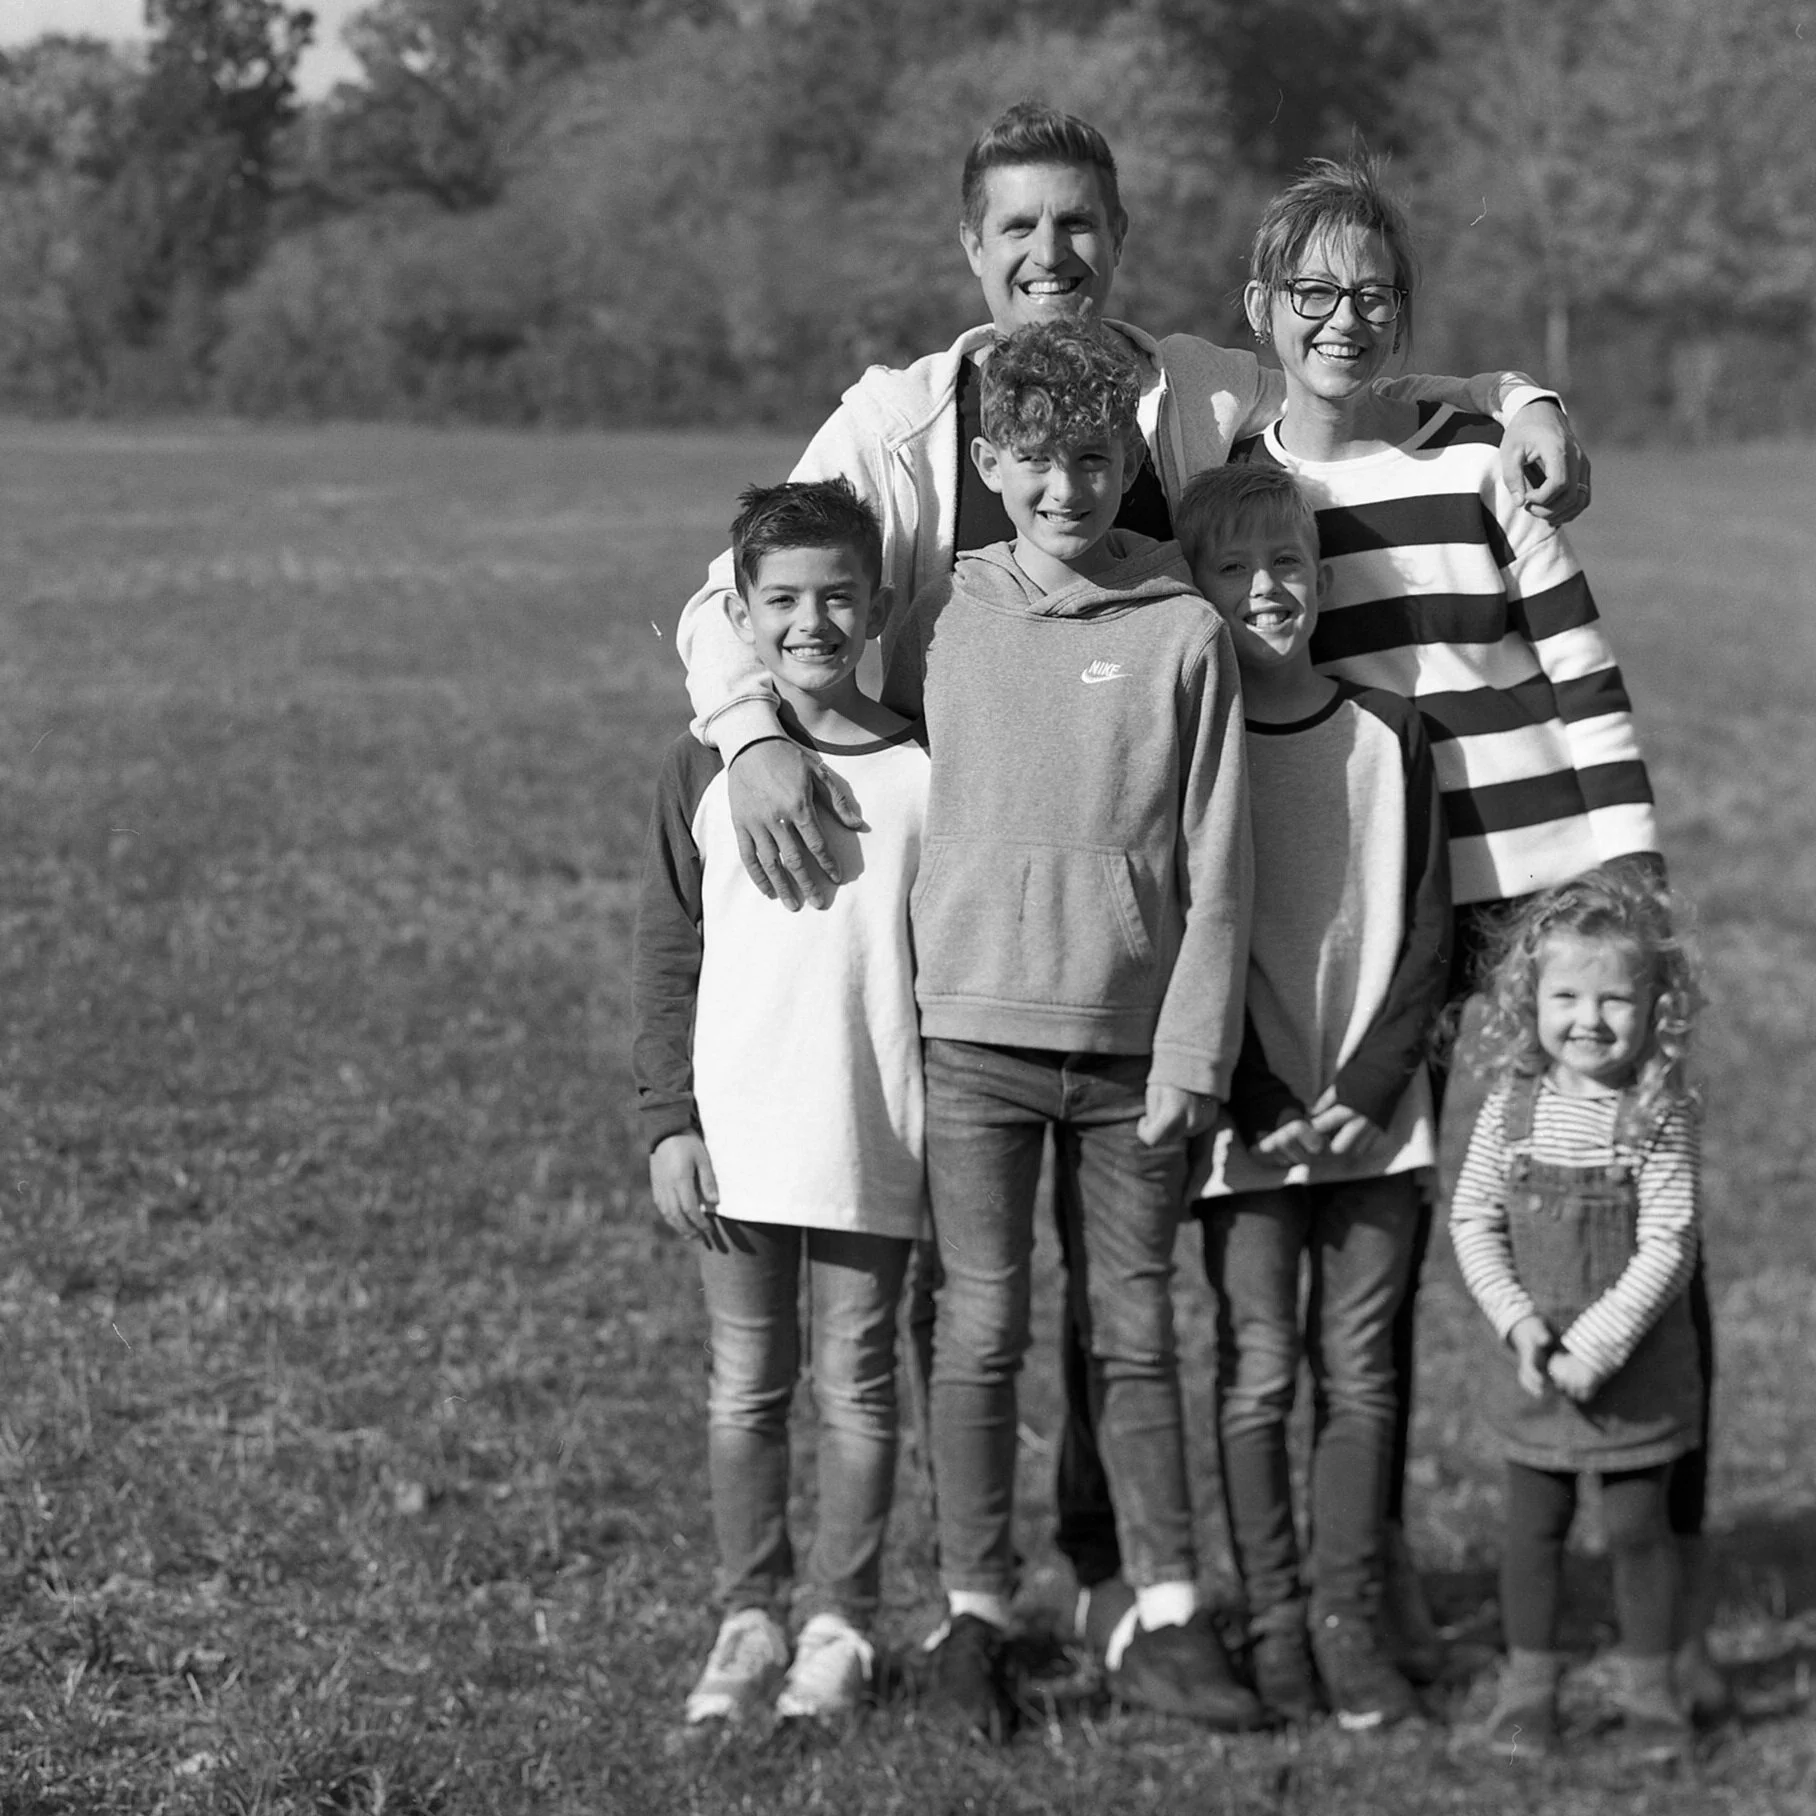
We had a family shoot towards the end of October and as we were preparing to finish we asked if they would be happy to pose long enough for us to try out our Intrepid large format camera. They were very keen! When the camera emerged from the car they were all extremely curious and wanted to get under the dark cloth and have a look at the screen to see what we saw.
The image you get on the back, as you’re focussing the camera, is upside down and reversed, which makes framing the image quite interesting!
When you add that you can’t just ‘click a button’ and get a picture, the whole thing becomes much more of an event than using a digital camera.
Here’s the rough process, to give you an idea of the time it all takes:
Arrange everyone in the frame. There’s no zoom and everything is cumbersome and on a tripod, so this involves moving people and camera around a lot…which you’ll see we didn’t quite get right!
Get under the dark cloth and focus the image.
Get a meter reading (we cheated and used one of our Fuji cameras)
Set the Aperture and shutter speed.
Realise people have moved, so refocus the image.
Notice a cloud has covered the sun, so take another meter reading and change the settings!
Manually cock the shutter - this is priming a spring that will open and close the shutter for a set time when you eventually get to press it!
Close the shutter - you have to do this manually and if you forget you will expose the film when you remove the dark slide at step 10 and get no picture.
Insert the film holder (you can’t do this before as it goes in front of the focussing screen and blocks your view).
Remove the dark slide.
Get everyone to smile…while noticing the cloud has moved so the light has changed!
Press the shutter button.
Replace the dark slide.
Remove the film holder.
This process happens for each shot, and takes a while! Weirdly though, it’s such a performance that the family posed really well and it’s about the only time we got them all to hold still and smile at the same time!
Of course, we had no idea if we’d managed to actually capture anything on our 4 shots, so off we went to process the film.
Result!
Of the four shots, we got one dud, which we think was because the shutter was cocked but not closed, and two that are a bit too contrasty because the light changed before we took the picture.
Overall though, we’re happy with the results on this first trial. Next time, we’ll definitely spend more time posing and hopefully less time in the process of taking the image!
film holders
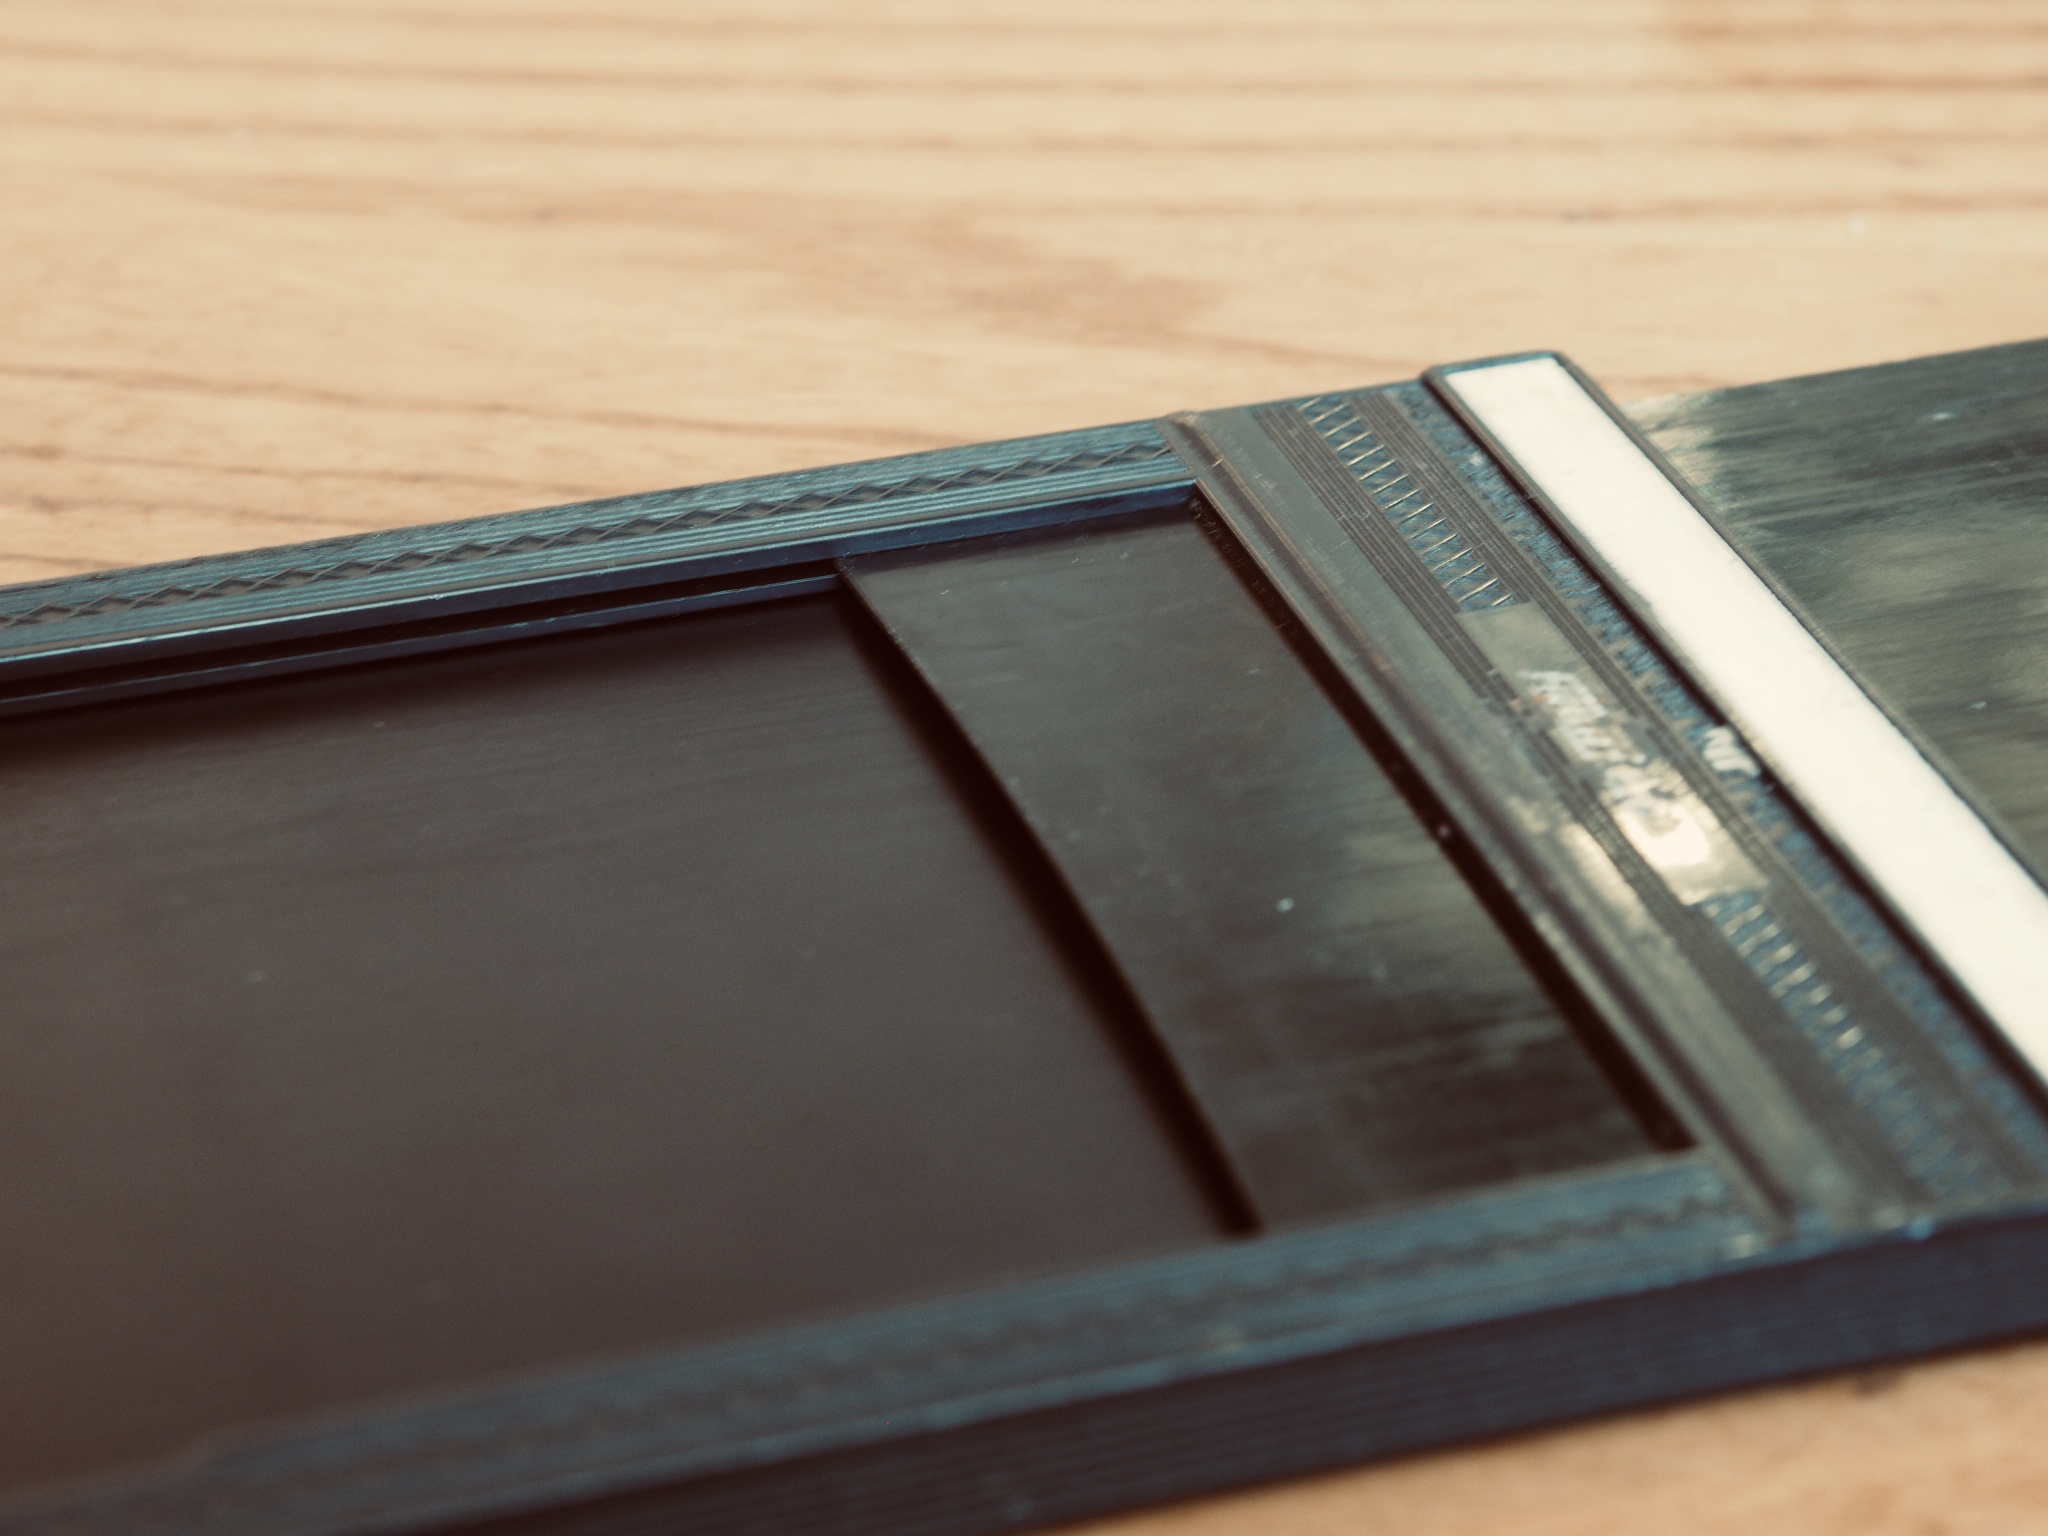
film holders attach to the back of the camera body and hold the sheets of film. their purpose is to stop light getting to the film until you’re ready, to keep it perfectly flat, and to let you take more than one picture at a sitting. to help with this last point, each of the film holders we show here can take a sheet of film to a side.
you have far less flexibility with wet plate photography as each plate is simply a treated piece of metal (or glass) which has to be shot and processed within a matter of minutes…but we’re not there yet!
the film holders pictured are relatively cheap and from ebay - they’re well used but work perfectly fine. in the second image you can see the dark slide pulled back to show the slot where the film is held. the dark slide prevents any light from hitting the film until it is removed.
more about the Intrepid camera
film cameras are essentially a light-proof box with a lens on one end and film at the other. the distance between the two is what causes the image projected by the lens to be in focus on the film.
nowhere is this more obvious than with large format photography. in the case of the Intrepid camera, the distance between the film and the lens is controlled by bellows and a simple rail system. the main camera body is laminated wood and there’s little else to it.
here are a couple of images of our camera, with the film holder and ground glass removed from the back so that you can see right through to the lens.
the next thing that a camera needs to do is control the amount of light that hits the film. this is controlled by the lens and shutter, and we’ll talk a bit about that later.
wet plate
the idea to embark on this insane experiment in artisanal photography came from when i was working on a module for my degree and the wonderful Adam Clark at Yeovil College decided to show us the new camera he had just purchased. it was actually the same model that we are now working with at something borrowed, from Intrepid Cameras. there’s a portrait I took of Adam in the set below.
at the moment we are working with more traditional film chemicals that you could have bought in boots the chemist a decade ago, but wet plate is an entirely different animal and we will be posting mode details and history of that process in the future.
in the meantime, here are some of the plates that we produced in our first faltering steps towards the previous millennium.
The Intrepid Camera
As we mentioned in the first post, we have purchased an Intrepid Camera and lens. Typically, mere days after we had taken delivery, Intrepid announced an updated version of the camera! Having had a good look at the new model it doesn’t offer anything we desperately need so it’s not too distressing.
The camera
The camera itself is essentially a light-proof box with a hole at one end for the lens (which must be mounted on a lens board) and a hole at the other end for the ground glass screen and (once focussed) the film plate. The bellows allows you to move the two ends so that the lens is correctly focussed. And that’s really it!
Here’s the view from the back.
When you see pictures of people using these cameras in the field, they have a black cloth over their head - the cloth isn’t actually attached to the camera (which is what I thought) but just draped over themselves to block the light from outside as the image you see above on the screen is actually very pale and hard to see in daylight. Once the picture’s focussed, you pull the glass plate out and replace it with a film plate…more on that in another post!.


