
Darkroom kit and chemicals
you can’t process anything without the correct chemicals and in this post we will let you know the basic kit you need to get you started.
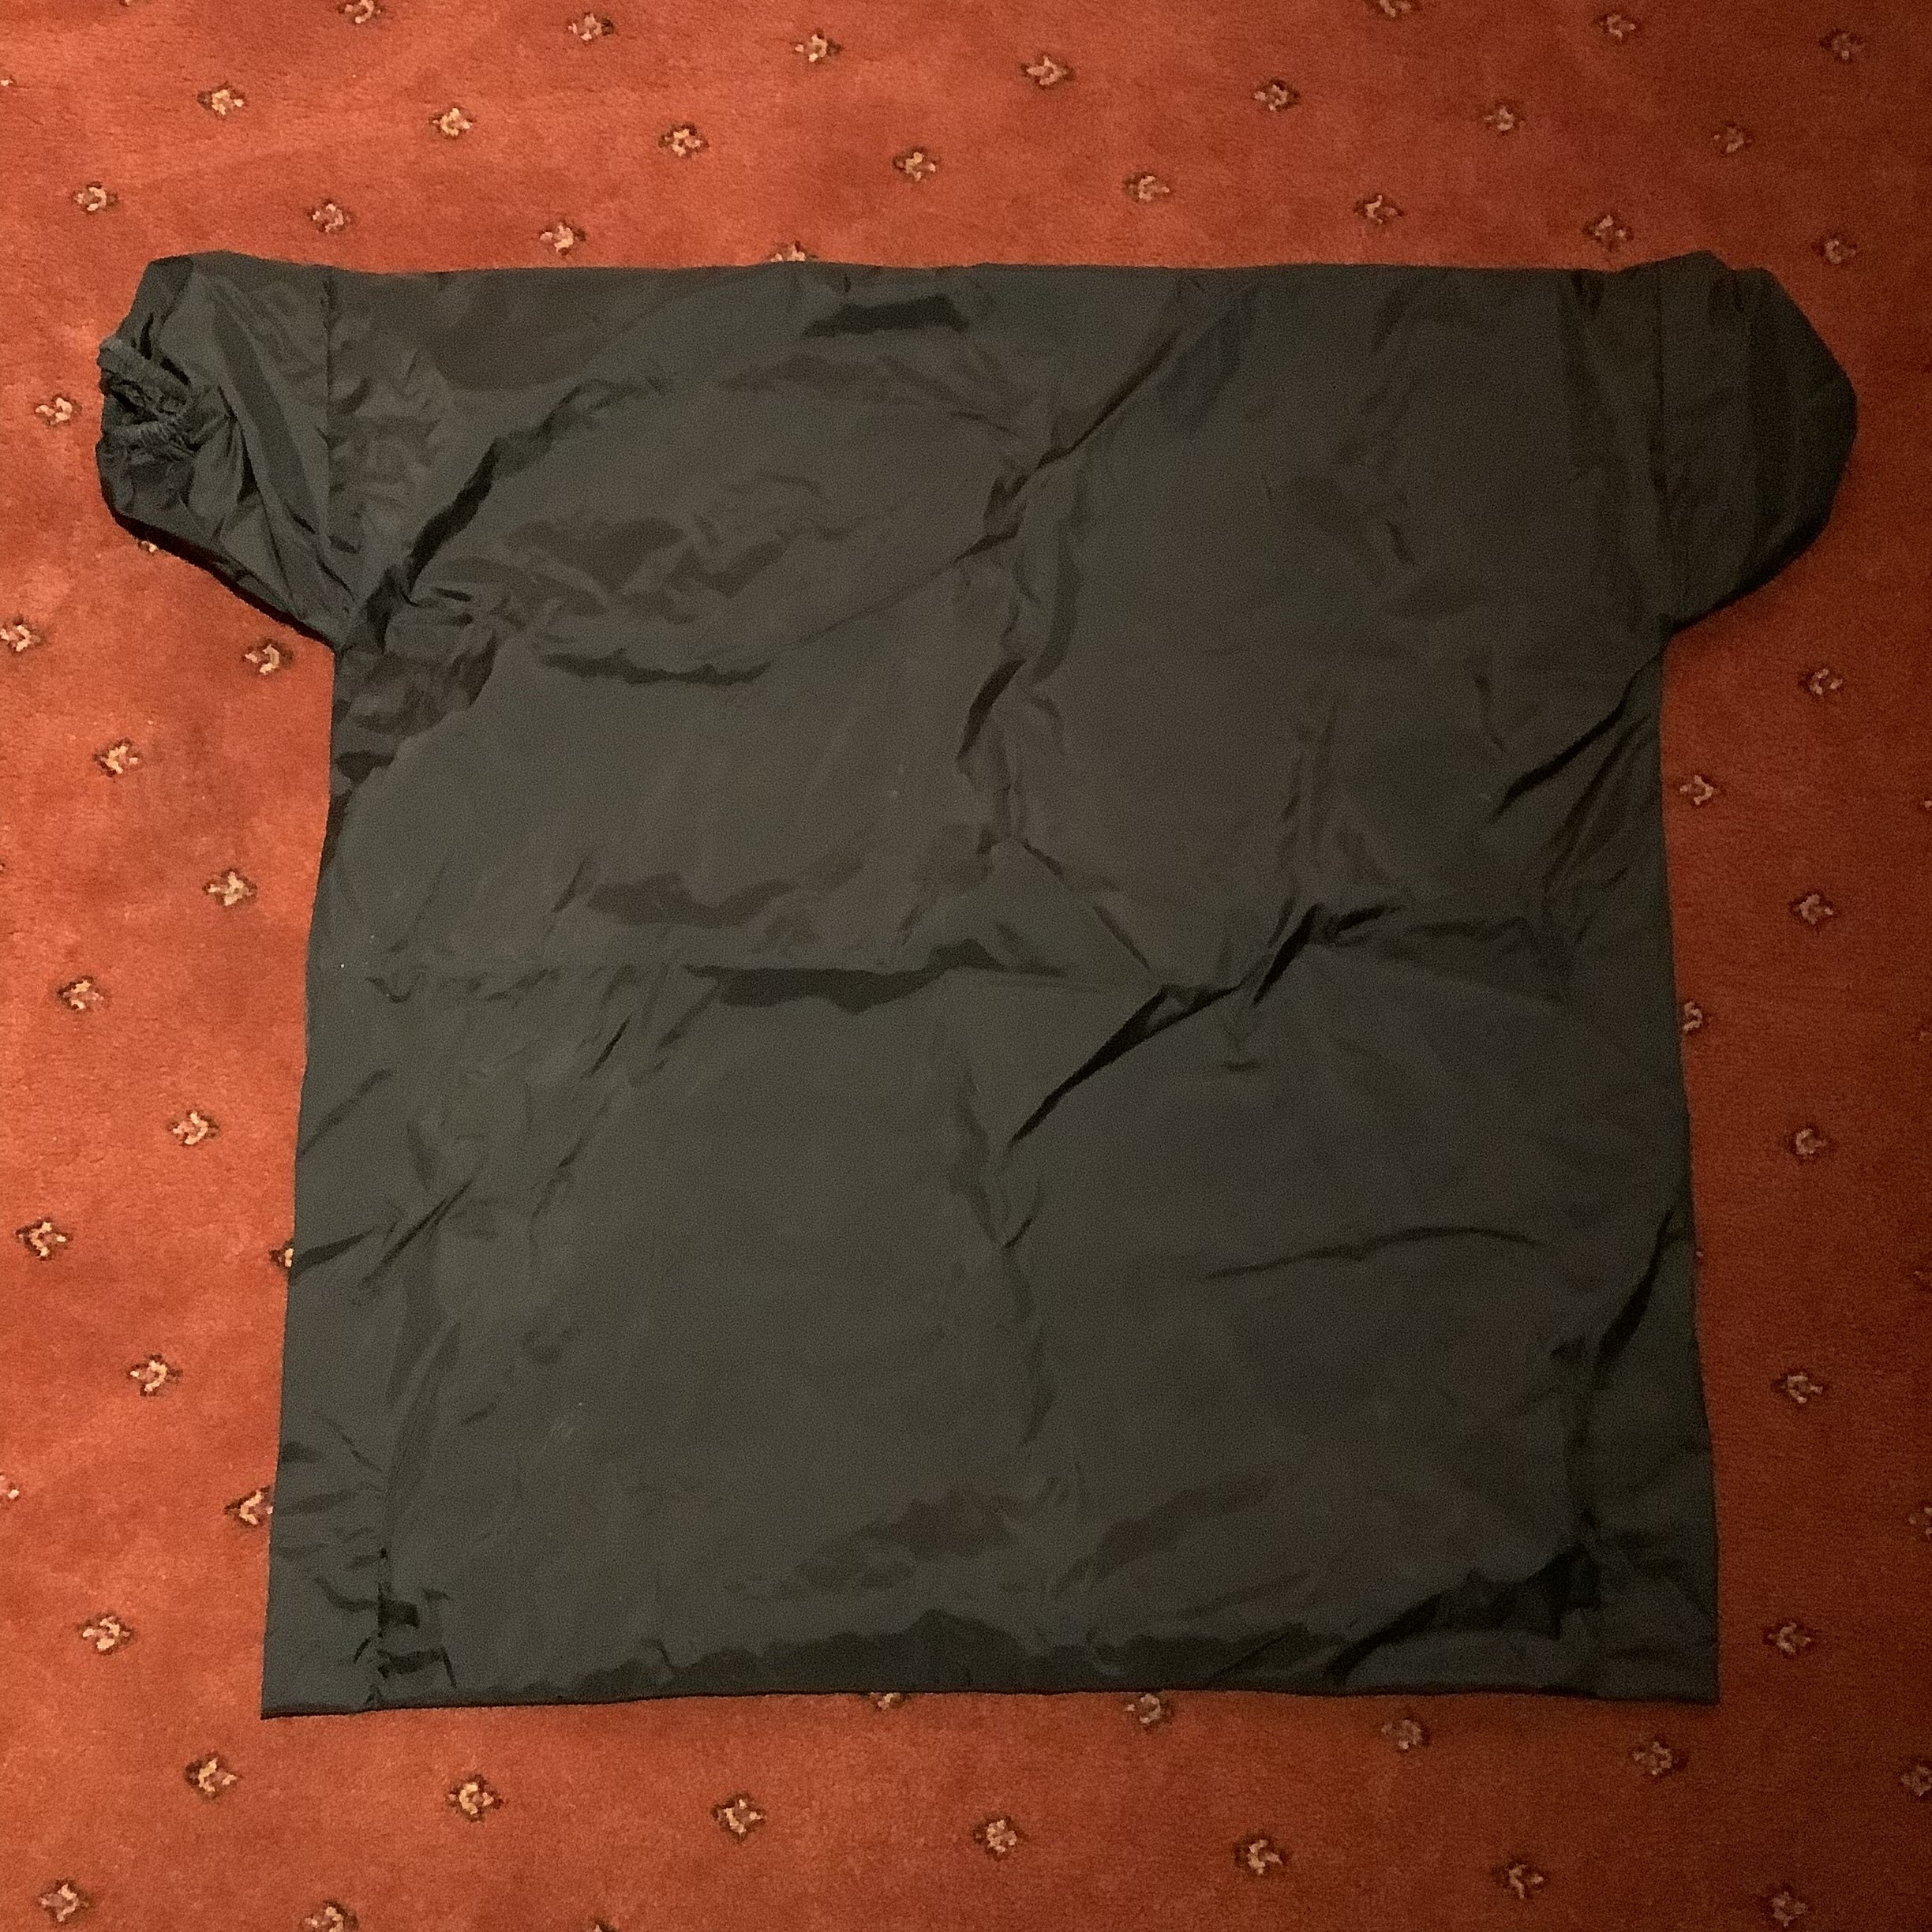
the first thing you need is somewhere dark to load the film! when we first started we didn’t have anywhere set up so we used a changing bag that we bought from amazon.
using a changing bag is a bit tricky but you soon learn to put everything in the bag before you start! the first time you forget something and you can see it sitting on the side while your arms are stuck in the bag, you soon make sure you don’t repeat that mistake.
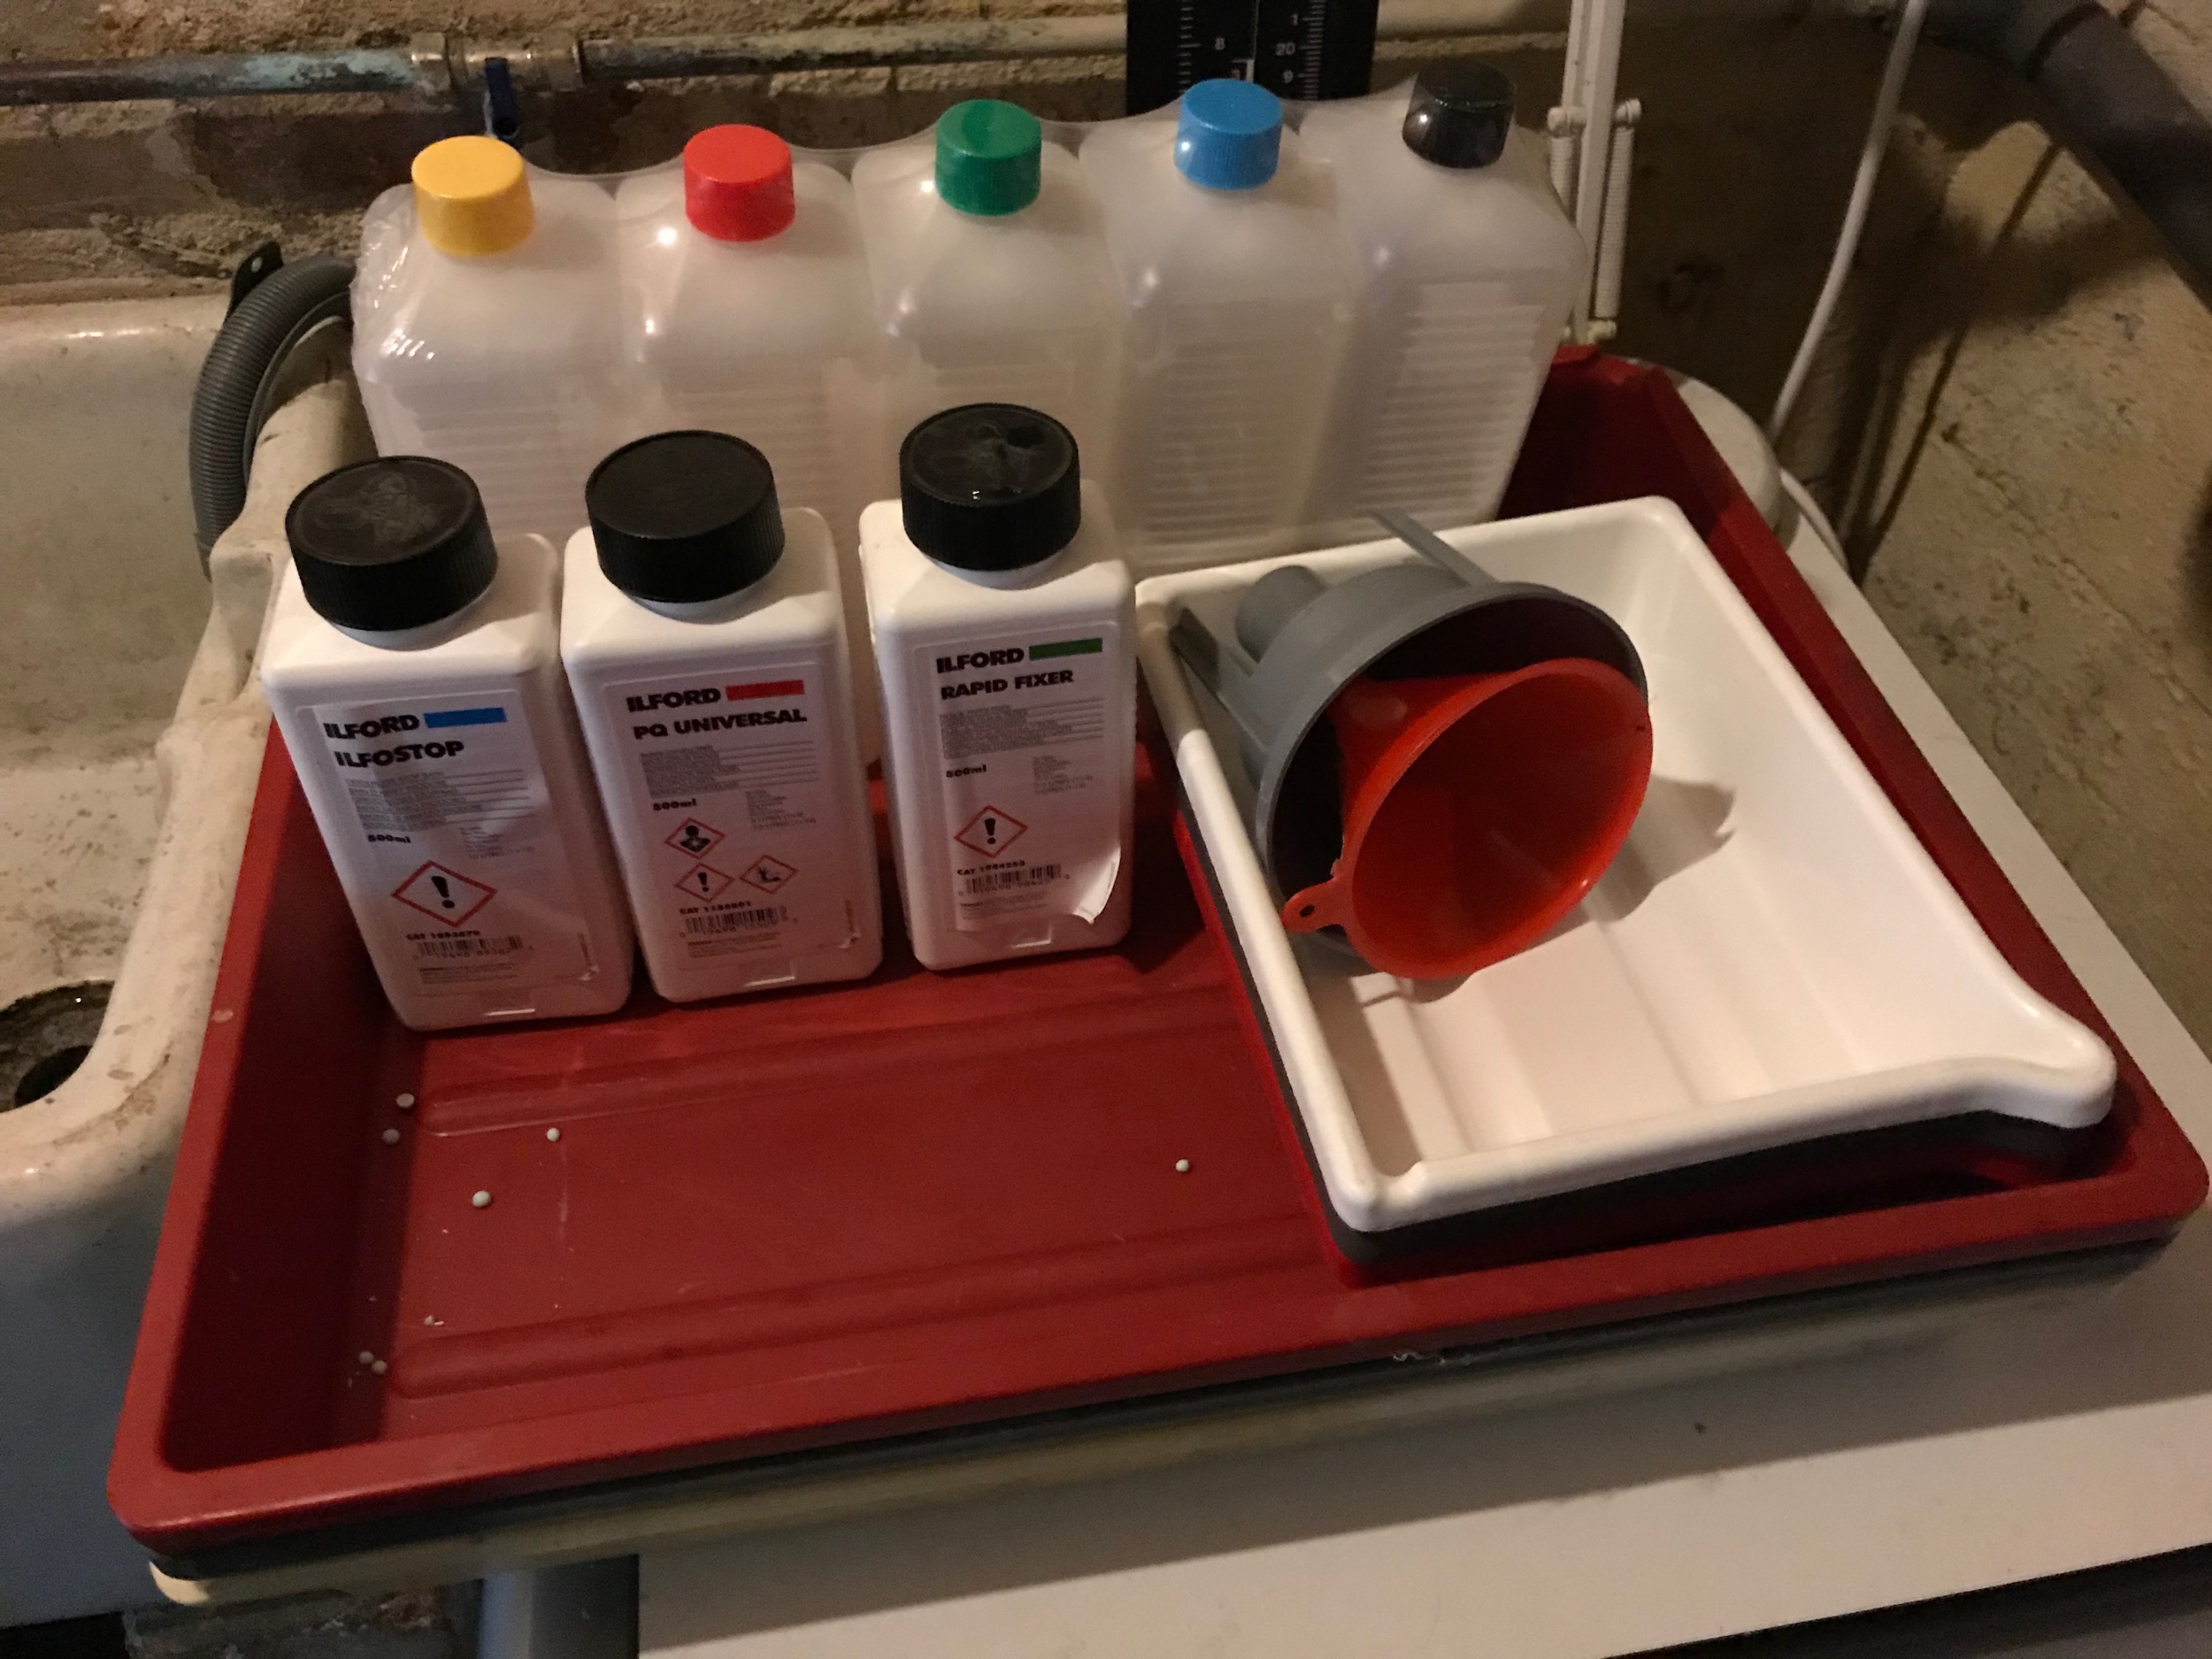
you can see in the first image that we have three different chemicals. i’m sure we will go into more details in another post, but essentially you start with the developer, then place the film into a stop bath to prevent further development, followed by the fixer to ‘fix’ the permanent image.
we’re currently using ilford direct positive paper, which is extremely slow and requires a long exposure time, but it produces an image straight away, similar to a wet plate process.
all of the above were purchased from amazon, including the dinky trays, which we bought to save on chemicals as we’re only processing 4x5 inch images.